Have you ever considered doing a photo shoot with your 4-legged best friend, but maybe didn’t know where to start, or immediately felt overwhelmed? I have been lucky enough to get to work with various photographers over the years, and I want to share a bit of what I have learned when it comes to making a shoot successful.
Step 1: Find a Photographer
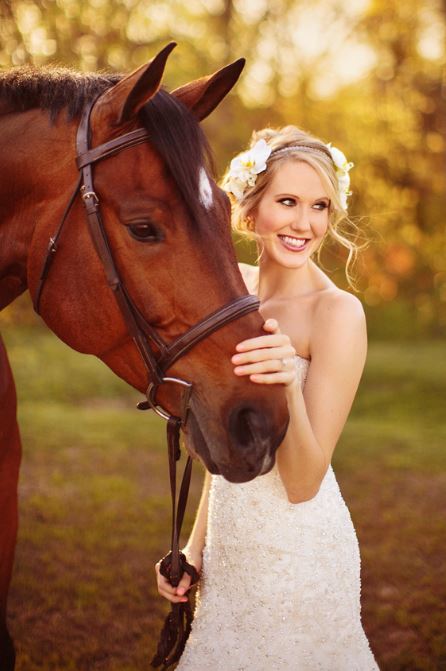
This is the obvious first step, but definitely an important one. Consider your location and your budget as you start browsing. I highly recommend selecting a photographer that has experience with horses if possible, as they will already know what angles look best, the importance of ears (and how to get them up!), and in general how to make your horse look his/her best. That being said, I have worked with a photographer that didn’t have any horses in his portfolio when I did my bridal pictures, and they turned out absolutely incredible. Moral of the story, don’t automatically discount a photographer that hasn’t had an opportunity to shoot horses before but prior equine experience is a definite plus.

As you are browsing photographers, make sure to look over their portfolios and see if you like their work. This may seem obvious, but it’s important to get a feel for what your photos will look like. It will also give you an idea of what you really like and dislike, and can help guide other decisions (such as outfit choices). Look over their pricing, and make sure you understand it. A lot of the time, the price listed is for the shoot itself, and the edited high resolution photos are additional. Do not assume the first price you see includes everything, and don’t be afraid to ask questions.
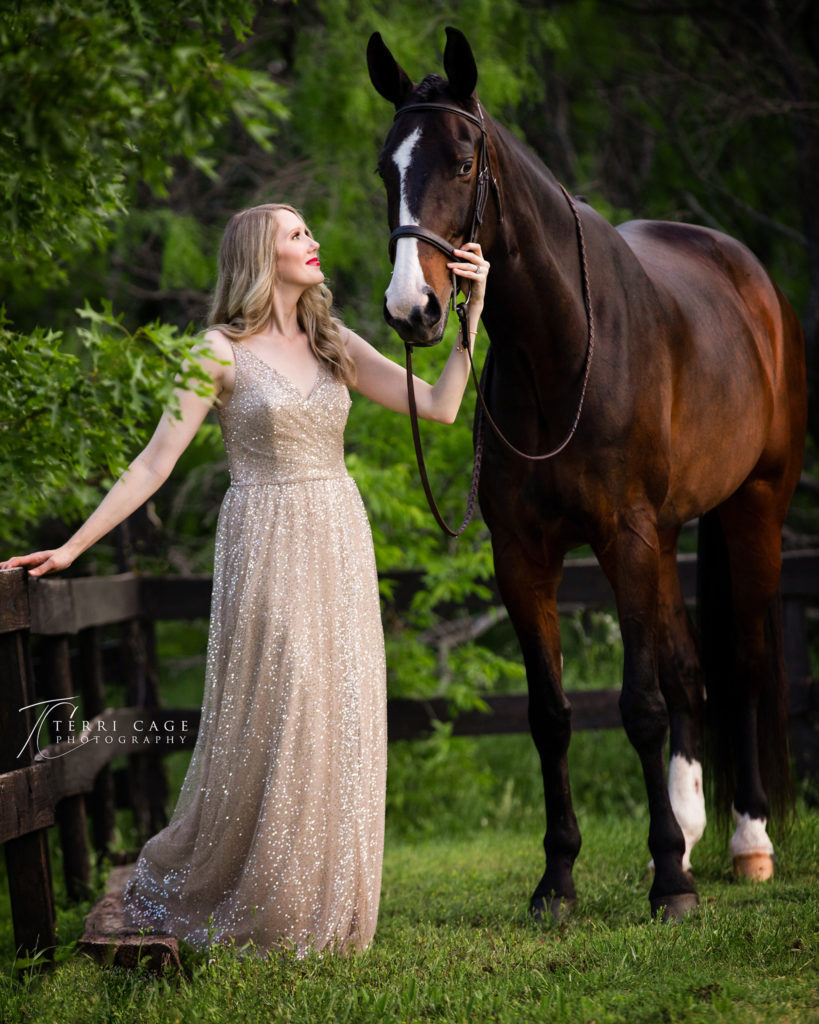
I was lucky enough to work with Terri Cage last year in her yearly workshop (Part 1 & Part 2), but this was my first time to work exclusively with her for a full session. I already knew that I LOVED her photos, as I have seen a lot of her work. A bit of research showed she is located within 25 miles of my barn, which made things a lot easier (not having to trailer to another location). Thankfully, my barn is gorgeous and provided many pretty locations to shoot.
Step 2: Outfit Choices
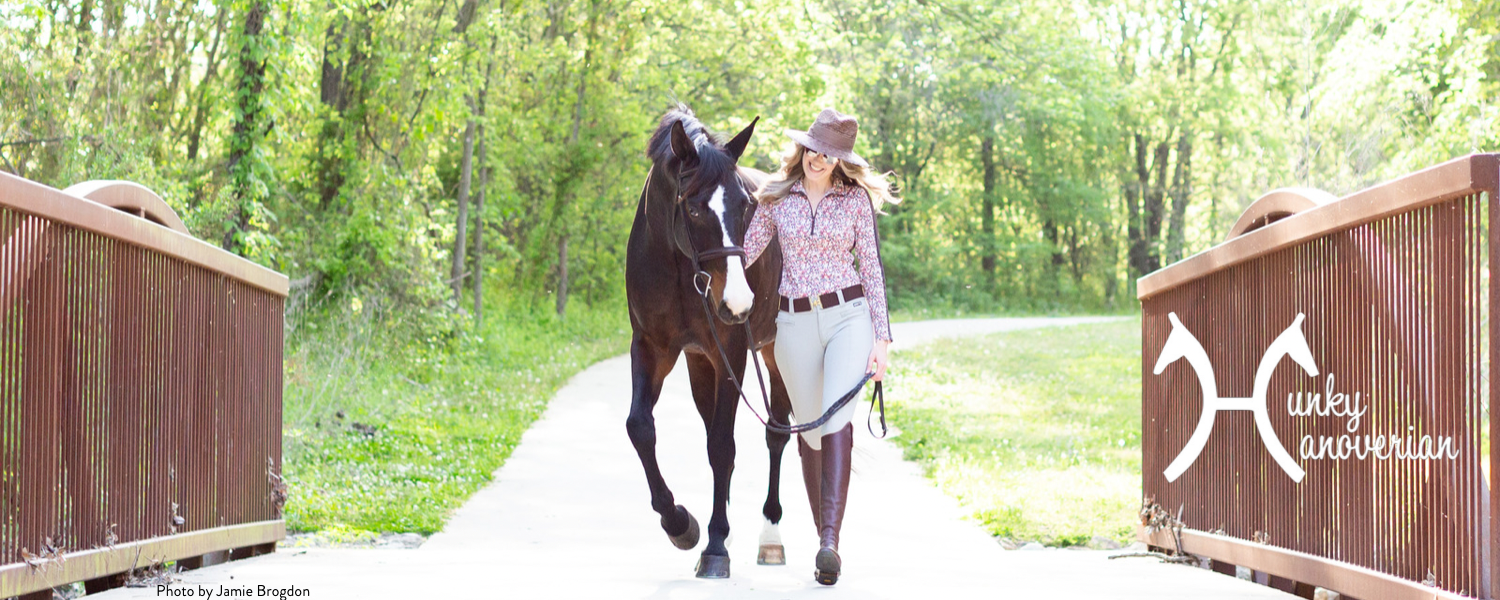
What you wear can make a big difference in photos. If you are like me and your equestrian wardrobe is better then your “regular” clothes, this might be a source of some anxiety. Rest assured though, whatever you pick doesn’t have to be designer or haute couture. In fact, you might want to stay away from crazy patterns, as they just distract from your horse. I’ve done a light floral pattern before, which looked nice, but I would avoid most dramatic patterns or wild silhouettes.
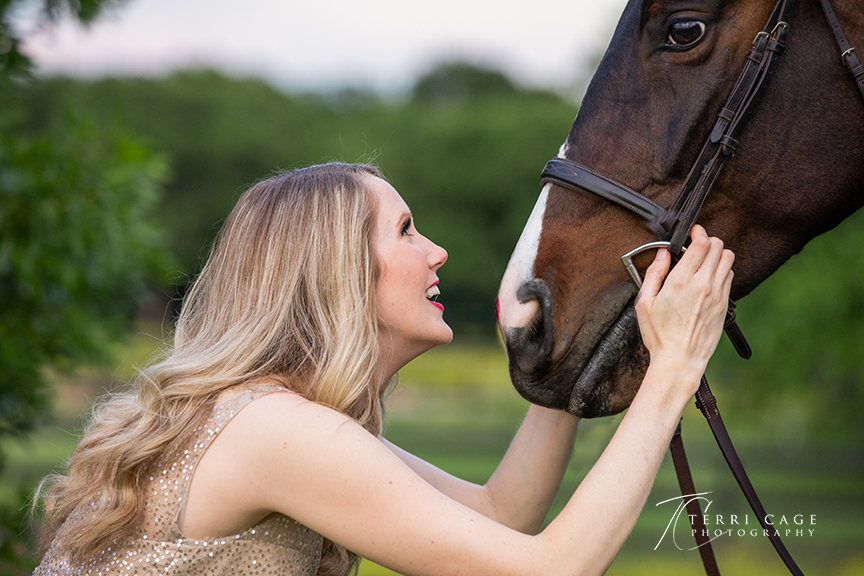
As soon as my shoot was booked, I immediately knew I wanted to wear this champagne sequin dress that I have. I found it last year in a bridal shop STEEPLY discounted when I with my friend who was buying her wedding gown. At about 85% off retail, I didn’t care that it was a size big and swiped it up. I have only worn it once, at the same friend’s wedding in Morocco. I knew it would look magical in the light of the setting sun and looked forward to wearing it again.
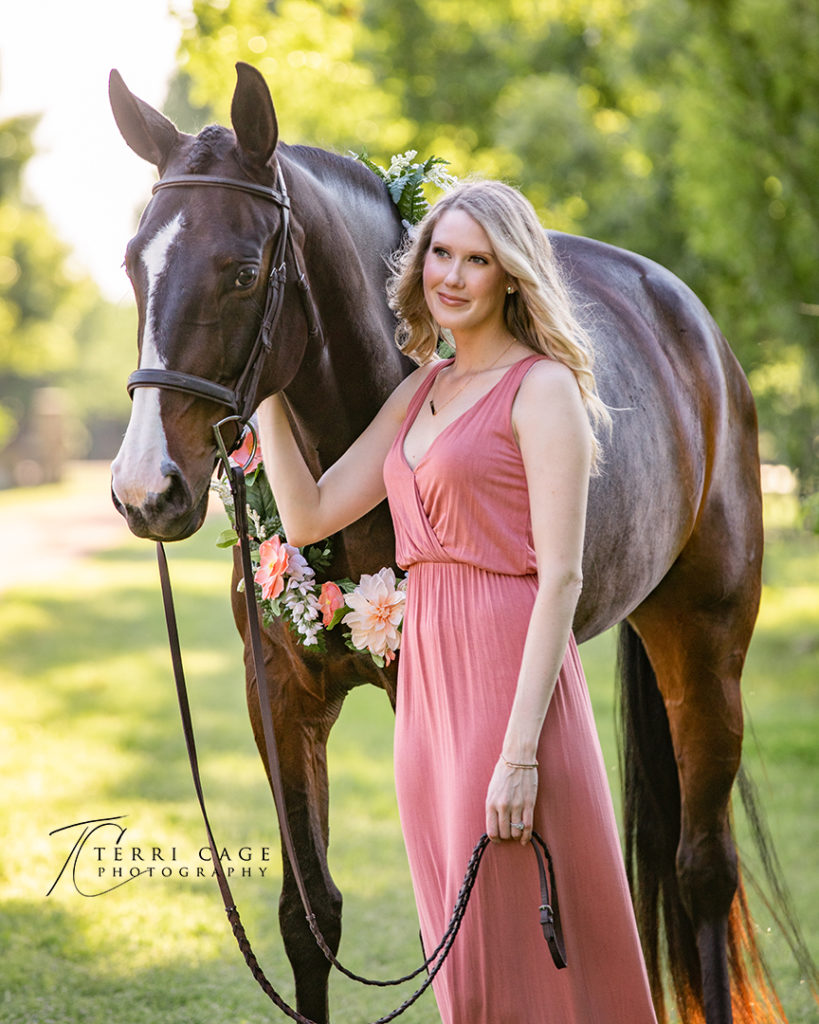
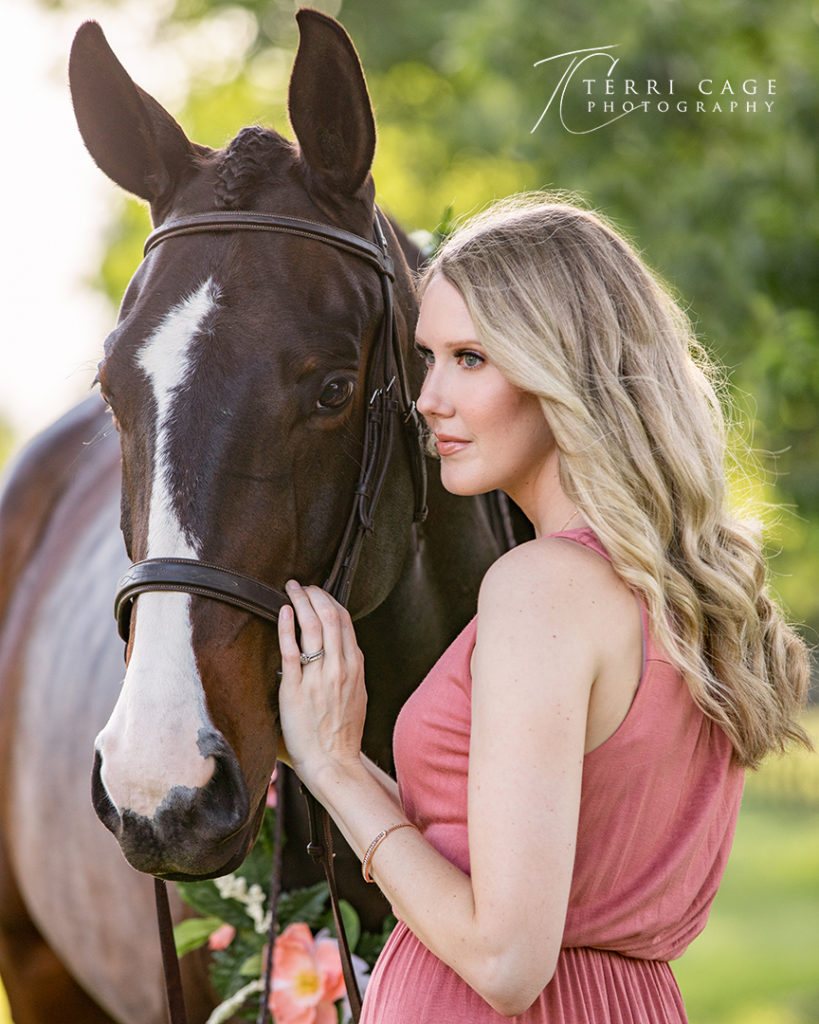
With that decision made, I had to consider my next two outfits. I knew that with one “dramatic” dress already selected, I wanted my next 2 choices to be more subdued. I like the silhouette of maxi dresses, and I have one that is a mauve/dusty rose color. Although somewhat plain, I knew it would look good with the lush green background of my barn and with Rio’s coat. I made a floral wreath for Rio to spice up the outfit some and add some variety (check out my wreath making how-to here!)
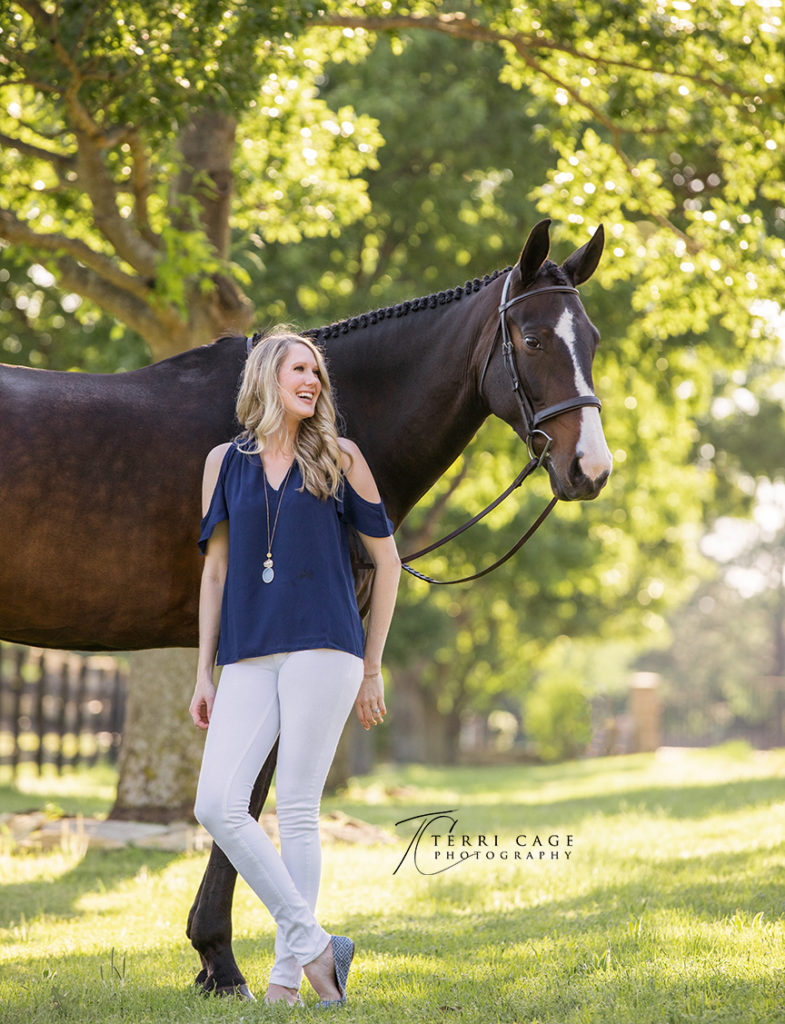
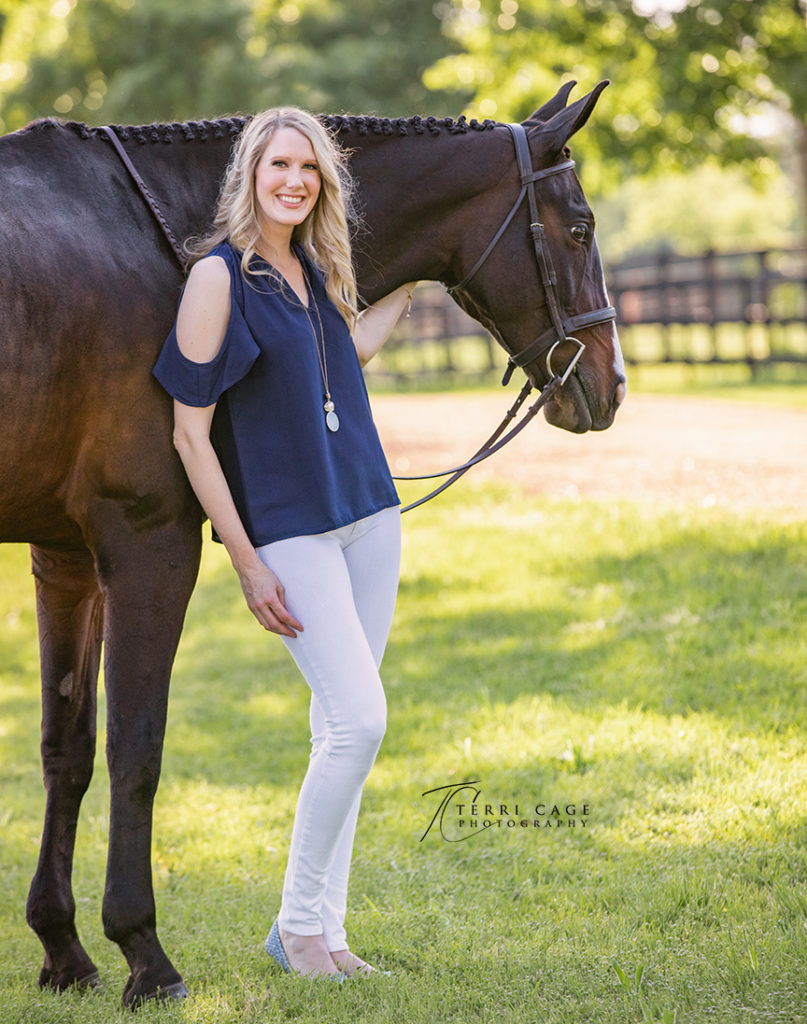
I had the most trouble deciding on my 3rd outfit. I knew that I didn’t want to do a 3rd dress, but I was worried dark jeans (aka basically all of my jeans) would “blend in” with Rio too much. I have some colored jeans, but they are a medium green, which I felt would be too much green with the lush grass we are currently enjoying at the barn. My only other jeans choice was white. I liked the idea of white jeans because I knew they would stand out next to Rio, but not be distracting like a pattern would be. My friend Liana helped talk me through these choices, so I highly recommend a trusted friend’s opinion during this process!
We settled on a flowy navy top with a bit of frill at the neck line and open shoulders. We felt that the slightly different cut would give the outfit some interest. I also paired this top with a pendant necklace. Consider staying away from wearing white on top. I almost did a white blouse, but I’m glad I didn’t because Terri said white tops tend to reflect the sunlit grass and can end up looking a greenish color in photos. I threw some matching ballet flats in my bag as well. I’m not a huge shoe person, and I knew you wouldn’t really see them with my outfit choices.
Step 3: Pre-Shoot Prep
This step is a biggie. Do not just assume your photographer is a magician, and can photoshop every picture into perfection with zero prep work on your part. Your photographer probably IS a magician, but photoshopping pictures is time consuming work, and your pictures will turn out more magical if you do all the prep work you can. What do I mean by prep work? Essentially, I mean the grooming of your horse and yourself. Let’s start with your horse.
Bathe them if you can. If it’s super cold and you don’t have running hot water, plan way ahead and use all the tools available to you. Curry the crap out of them. Use a vacuum if your barn has one. Bring thermoses of hot water and an armful of towels. Use one of the many dry shampoos on the market. I’m a big fan on the Myst dry shampoo myself. There is just zero excuse to have a dirty horse or a dull coat. Make sure they are clipped as much as possible. If it’s spring and they are holding onto some of their winter coat- body clip. I had already body clipped Rio earlier this spring, but I made sure to touch up his legs, face, and muzzle.
Invest in some shine spray. Don’t want to spend $20? Check out my equestrian product hacks post for a $4 shine spray substitute from Target that my friend and fellow Amateur Hour Podcast host Olivia (@remarkablemare) swears by. Cover your horse in shine spray. Make sure to hold the can/bottle an adequate distance so you aren’t leaving oil marks. I like to spray the shine spray on a soft brush and then lightly brush to apply it evenly.
I strongly suggest braiding your horse’s mane. I did Rio’s (even though I am as slow as can be and only “ok” at it. Total, it took me an hour and a half. It is WORTH IT to put that extra polish on photos. Plus, Rio’s mane doesn’t always lay super nicely, and the wind that day would have been blowing it all around. If you have a fake tail, put it in. Apply hoof polish. Do everything you can think of to make sure your horse is dressed to the nines. Clean your tack!
Now, put your precious pony in a stall, threaten him within an inch of his life not to lay in poop or rub his braids, and go get yourself ready. If you have a light colored horse, put a sheet on them. Use a sleezy to protect the braids if your horse rubs. Take precautions!
If you aren’t good with hair and make-up, line up some help ahead of time. Make a salon appointment with a make-up artist, or bribe a talented friend. Even if full face make-up isn’t really your thing, someone who knows that they are doing can make it look light while still enhancing your natural beauty. I’m ok at doing my hair, and I enlisted Liana’s help with my make-up. If you can tolerate fake eyelashes, they make all the difference in pictures. They are the best $5 upgrade you can get IMO. Make sure to pack hair spray and a brush for touch-ups during outfit changes. I brought a change of lip color, and some powder to dab any oil spots as well. Again, the more prepared you are the smoother and more successful the shoot will be.
Step 4: Enjoy Yourself!
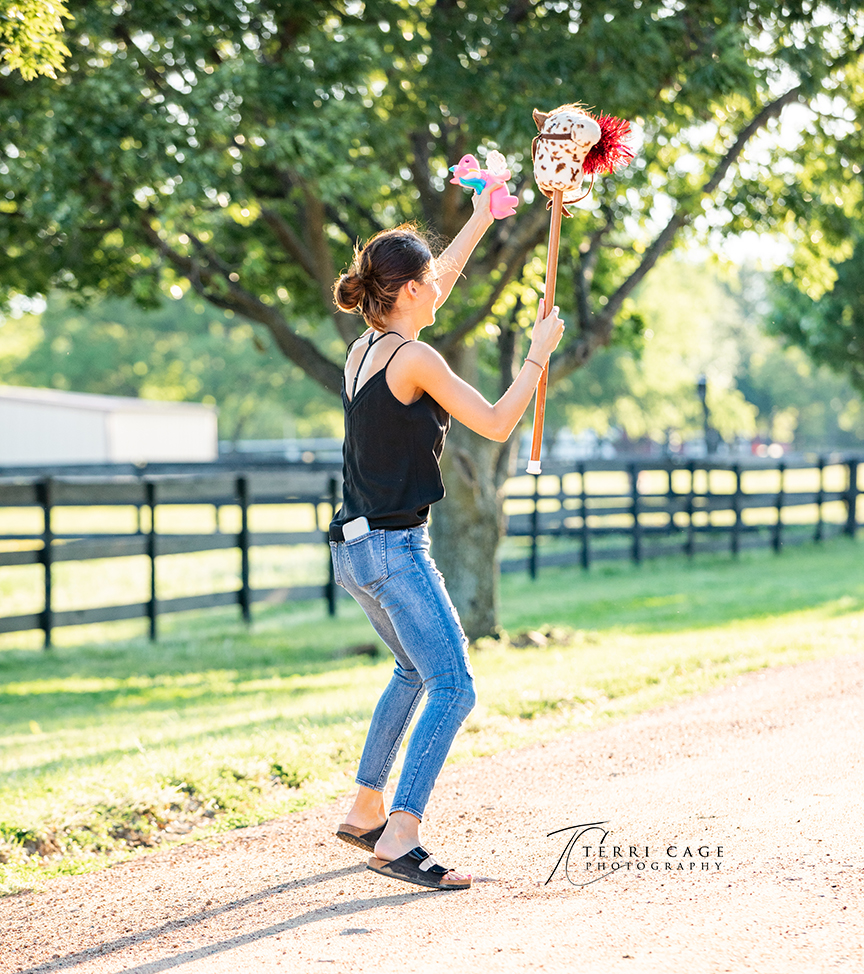
Be sure to ask your photographer ahead of time if they have an “ears person” aka someone to help keep your horse’s attention and be an extra set of hands. This person is VITAL. If the photog is coming alone, do everything you possibly can to bribe/threaten your BFF or SO into helping. Rio is a shit for photo shoots. He just doesn’t have the patience to stand around with his ears up for 2-3 hours. THANKFULLY, Liana agreed to help out. This ended up being a cardio workout for her, and I can’t thank her enough. The photos wouldn’t be half as good without her help.
If you have done all the required prep and planning, it is time to enjoy yourself once the shoot starts. An experienced photog will help guide you through poses, and self the best locations around your farm. As long as your have help getting their ears up, you essentially get to stand around laughing and smiling. Relax and enjoy it!
Giant shout-out to Terri Cage!!! She is the nicest person, not to mention incredible easy & fun to work with. I couldn’t be happier with the way all the photos turned out!!!