You guys ask and I will deliver! Many of you saw my instagram story a few nights ago where I walked through the process of making a floral neck wreath. It was wayyyyy more popular then I could have guessed, and lots of you wanted a blog post on the process for future reference. Unfortunately, I didn’t take super detailed pics during the process, but I still have the story video so I think we can work with that.
Color Scheme
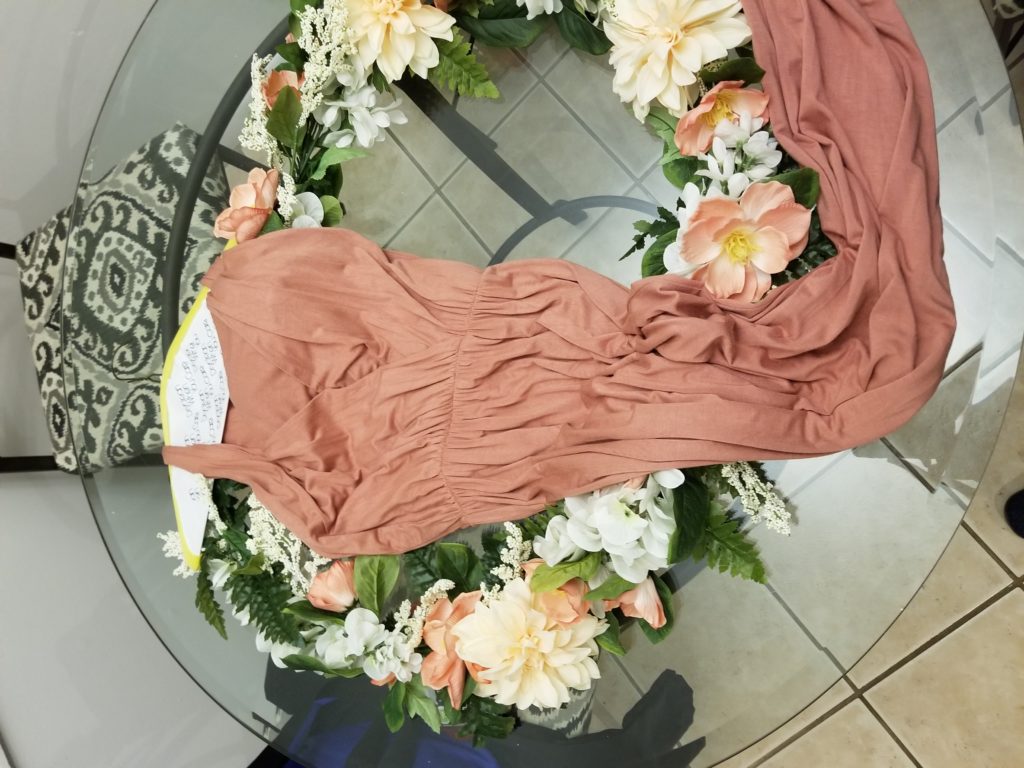
Decide on your color scheme. I planned on wearing 3 outfits for my photo shoot with Terri Cage, one of which was a plain cotton, mauve colored maxi dress. Although I love the dress, I knew it might be a little boring in pics, and decided that a floral wreath would give it the perfect amount of oomph and interest. Plus, spring photos are always funner with some flowers, and there aren’t any real ones currently growing at my barn.
Go Shopping
With the mauve/dusty rose color in mind, I headed to Michael’s. My timing was spot on, and most of the fake flowers were 50% off. Score!
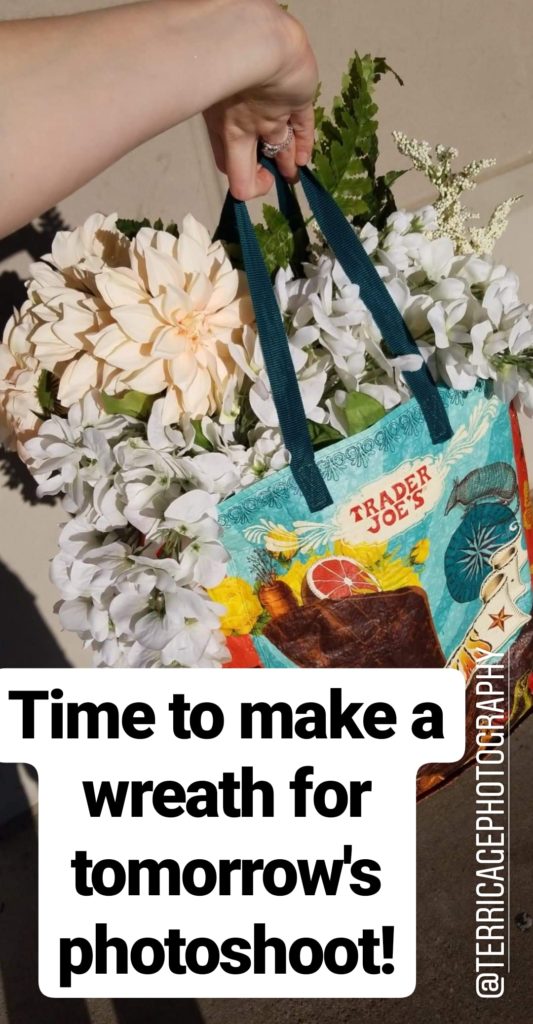
I started by picking out a long garland. I knew I wanted a long piece to start so I could have something to attach additional flowers too. The garland would serve as the foundation of the wreath. I found a lovely one with pink flowers similar tothe color of my dress. Originally $20, it was included in the 50% off sale. With the pink flowered garland in hand, I wandered around the isles and picked some white flowers in longer strands (more bang for your buck) and some off-white smaller white garnish things (no idea what type of flowers any of these are meant to be, sorry!). I also decided I needed a bit more color and greenery and picked up some green leafy prongs and 4 light peach colored flowers.
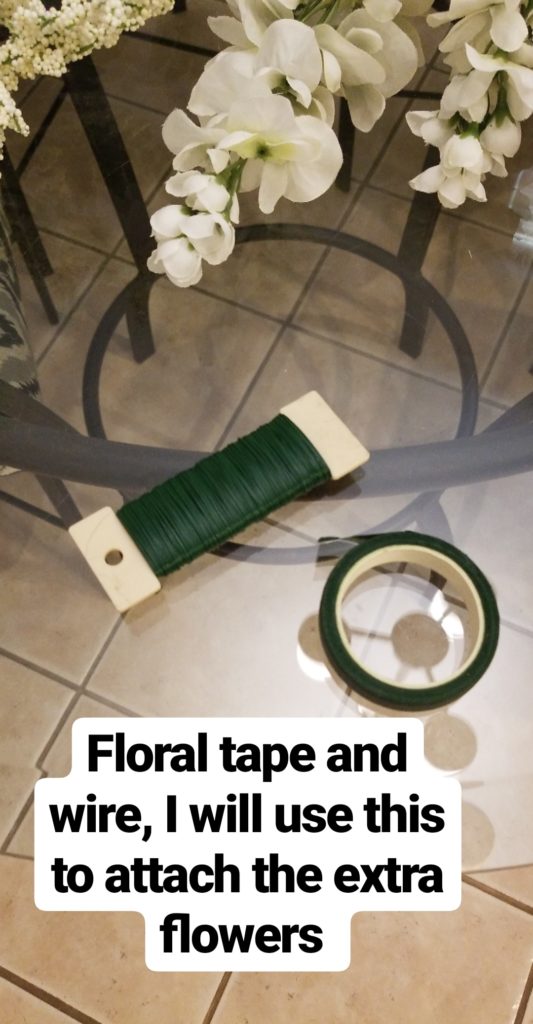
During all of this, I was essentially just grabbing stuff that would look good together, which was sometimes trial and error. Several flowers got picked up, only to eventually be returned when I felt they weren’t vibing with the group. Once I felt good about my selections I headed to the check out. My total came to $45. I already had green wire and floral tape at home, but if you don’t I recommend picking that up too. I prefer the wire over the tape myself, but both would serve the purpose of attaching additional flowers.
Start Assembling
Once you have your wire, wire cutters, and your flowers, you are ready to get started. I began by laying out the long garland in a wreath shape and cutting and laying out the extra flowers along the wreath. I like to lay it all out and see how it looks before I start attaching anything. Once I was happy with the design, I started using the wire to attach each extra flower. I started with the extra greenery/leaves, since I wanted them to be more towards the back and not block the flowers. Then I added the 2 different types of white flowers I got, rotating them so they were spread out nicely. I finished by adding the few additional light peach flowers that I wanted more toward the forefront. All in all, it took me about 45 minutes-1 hour to attach all the flowers. I looked it over carefully and added a few small tweaks here and there (additional white flowers where it looked sparse) and then deemed myself finished.

To see what the wire attaching looks like and an overview of the whole process, watch the video below!
Hope you guys enjoyed this brief tutorial! I will 100% be sharing the actual photographs of how it looked on Rio as soon as I get them back from the photographer! Questions? Drop a comment!